Does Painting a Historic Interior Require Special Treatment?
Originally posted on https://www.catchlightpainting.com/painting-historic-interior-special-treatment/
For the homeowner interested in the preservation and painting the historic interior of their home, we are often asked about the use of historically or period appropriate colors. Most larger painting manufacturers have addressed this topic through their specialty color palettes; our favorite is Benjamin Moore’s collection. We’ve also written about historic paint colors recently in our blog, along with project photos to illustrate our points.
But few such resources exist to help inform the homeowner about the process of painting historic interior spaces and surfaces; we’ll try to address some of the key points here.
Protection of the Historic Home
Besides the usual steps of covering floors and furnishings to keep things clean, it is imperative that any masking tape used be of a high-quality delicate adhesive to prevent damage to surfaces. The wrong masking tape will pull paint off baseboards, floors, natural woodwork, even ceiling paint. We use a 3M product specifically designed for application over delicate surfaces to avoid any collateral damage.
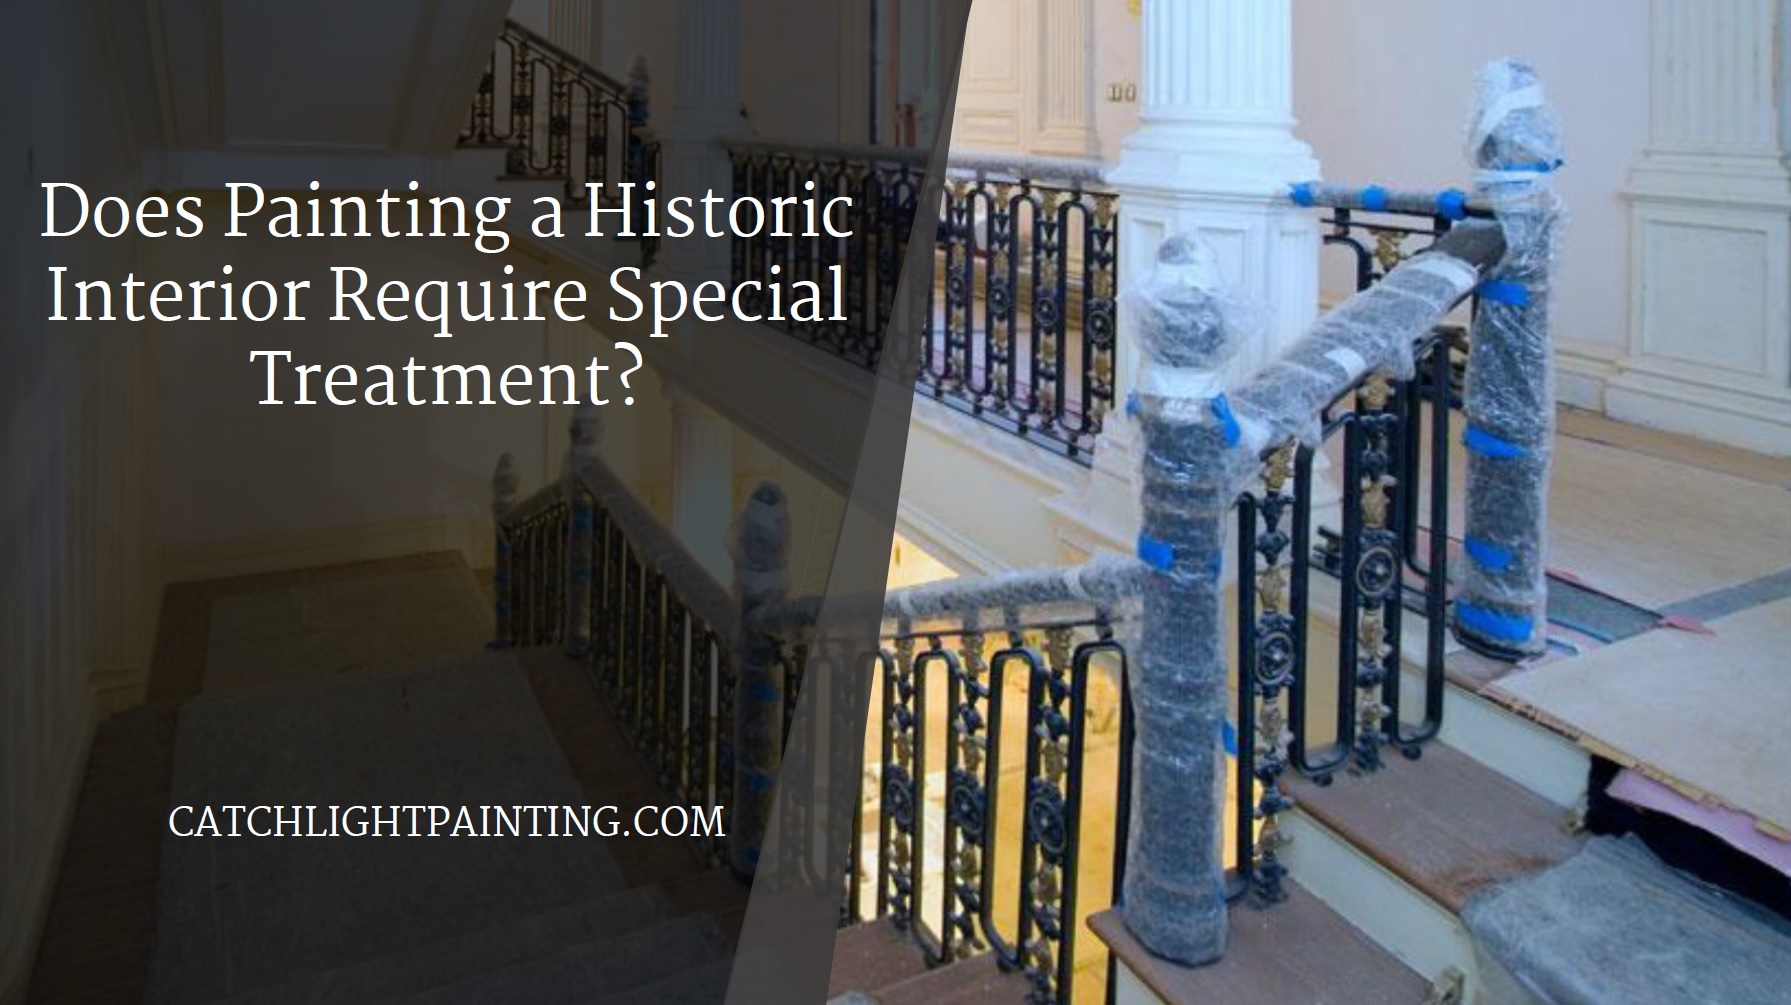
We consider everything in an antique or older home to be delicate and often use multiple methods to protect surfaces, like bubble wrap and non-slip cushioned flooring protection on stairways.

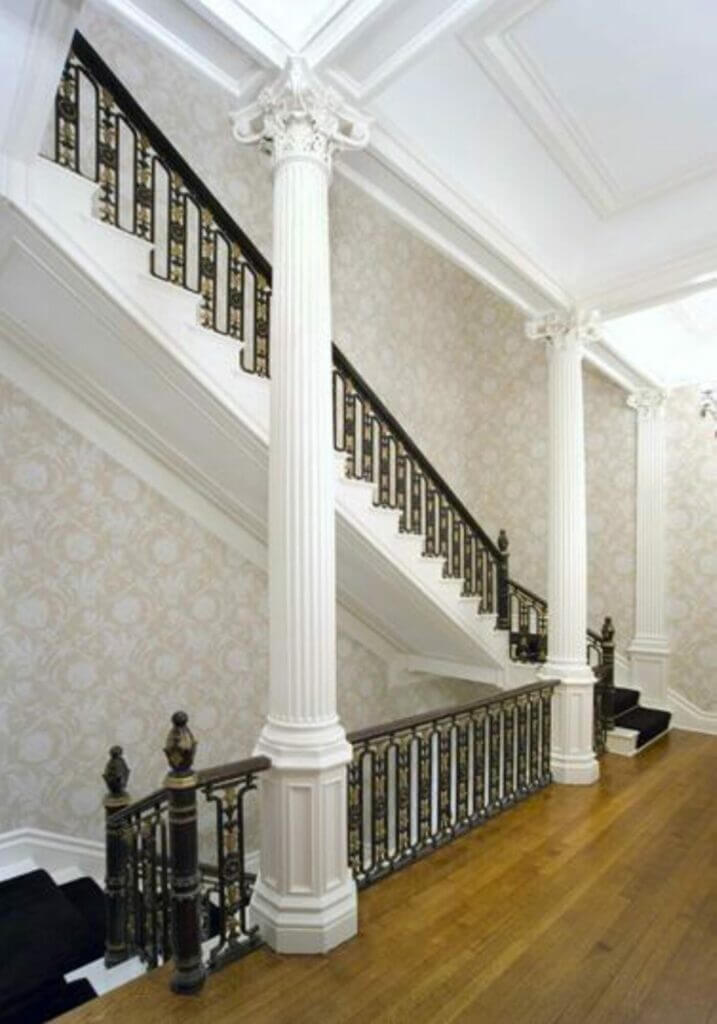
This ‘before’ image reveals the utility and importance of proper protection, as no work was performed on the balustrade.

Preparation Before Painting a Historic Interior
As professional painters working on historic homes, we are prepping surfaces that are likely covered with multiple coats of paint, and paint of various types; oil-based and acrylic/water-based. Simply painting over old finishes hoping the new paint will stick is a recipe for disaster.
The key to a successful outcome is knowing and understanding how to properly remedy peeling or failing paint.
What We do About Lead Paint
Per EPA regulations, we will always assume lead paint is present in a home built before 1978. We commonly test painted surfaces before we begin any work that might disturb the surface, like sanding, cutting, scraping. If no lead paint is detected using a typical 3M test kit available at most hardware stores, we’ll document this on a suitable form for record keeping. If the test is positive, we’ll need to employ EPA’s RRP protocols so as not to create a hazard for our own staff and the occupants of the home. We’ve written extensively about this in the past, and detail the importance of hiring a contractor qualified to remediate lead paint here.
How to Address Peeling Paint on a Historic Interior
Performing a simple adhesion test will reveal any compromised layers of paint under the topcoat.Choose a discrete area, cut a hash mark in the paint with an Exacto or utility knife to score the paint, then apply regular masking tape over the cuts – rub the tape on thoroughly then yank it off. If paint comes off with the tape, you have uncovered a coating that is not properly attached. This layer will continue to present peeling problems until you deal with it properly.
Calcimine; The Problem and Solution
Calcimine was a powder-based paint applied by the plasterer as a final white top coat over the veneer or finish coat of plaster as it dried. It was intended as a long-term finish which eliminated the need for a painter’s visit after the plaster was properly cured. It worked well but has now become a problem for historic homeowners all over the Northeast; Calcimine desiccates as it ages, releasing from the plaster and leaving behind a powdery residue that must be removed before new paint is applied.
To make matters worse, simple application of a water-based coating to a calcimine ceiling that looks ‘sound’ can result in large blisters of paint that can fall off the ceiling. The weight of the new coating causes the calcimine layer to release from the plaster and fall to the floor. Less dramatic side effects include blisters of various sizes; scraping these off reveals the original intact plaster beneath.
Here in the Northeast, application of an oil-based flat ceiling paint called Calcicoater is the solution if you think your ceiling has a calcimine layer. Note that this paint has a strong solvent odor and the room in which it is applied should be aired thoroughly for up to a week before it is put back into use.
Plaster Restoration of Historic Homes
Innate to any older home’s care is the preservation of original plaster, an ancient and storied substrate that makes sheetrock/drywall(all made with GWB – gypsum wall board) look like Playdoh by comparison. If plaster gets wet, it will simply dry out and retain its integrity, and its alkalinity is inherently toxic to mold growth so roof or plumbing leaks do not require the significant intervention and replacement that water soluble GWB will require.
Much like the ‘restore don’t replace’ ethos that guides our work on the wood used to build older homes, we prefer and encourage the repair of plaster over its patching or replacement with a newer wallboard material. Likely the most significant issue you’ll have with old plaster is cracking walls and ceilings, and thanks to gravity, sagging ceilings. Using plaster buttons and 3-inch coarse screws to re-attach plaster to the joist or studs is an easy way to stabilize plaster. YouTube videos abound that show how simple this repair is, for even the klutziest homeowner.
How to Address Existing damage
We carefully survey existing conditions before we start work in older homes, documenting existing damage, specifically, sanding scratches on glass and broken glass; paint splattered on floors and hardware; and paint left on fixtures like door escutcheon plates and window locks. Needless to say, in a historic home that has nurtured within its wall the lives of multiple generations, wear and tear, or ‘character’ as we call it, is bound to be visible. We ask our clients to consider themselves conservators of their homes and recognize that ‘perfection’ is unlikely if we are to preserve the original fabric of the house; plaster sags and settles, wood contracts and expands, paint accumulates on trim and obscures details. We’ll happily bring a house up to ‘like new’ standards, but homeowners should expect a higher cost appropriate for this more extensive type of restoration project.
Historic Interior Finishes
Now that preparation is complete, is it necessary to repaint using special paints? Fortunately, no. We simply recommend you apply the best paint money can buy – its worth it! We’ve written about interior paints here and kitchen cabinet paints here.We seek to apply the smoothest possible finish and follow these steps for dust protection: vacuum only with HEPA level filtration;install doorway protection to minimize drafts; remove surface dust with tack cloths, and even wet down floor protection to avoid kicking up any possible remaining dust.
We will never return used paint to the can, pouring only what we know we can use; and we strain our paint to catch any solids that may have formed on the sides or lid of the can and fallen into the paint. We do find that application by sprayer gives the best finish – it is almost impossible to deliver the same finish by brush unfortunately, despite our OCD efforts to create ‘clean room’ conditions for our work.
We started with the question of whether historic homes need or deserve special treatment when painting. While the answer is nuanced somewhat by the variables of existing conditions, in truth the informed homeowner and painter should be able to move forward with success just by careful attention to detail, from start to finish. If you are in the process of hiring, it would be worthwhile to write your own scope of work and indicate the level of finish you seek, to avoid miscommunication and disappointment.
Seek out respected and established painting companies, confirm references and bona fides. We cover this topic in detail here. In our trade, it is a truism that you get what you pay for. Given your home is likely your biggest lifetime investment, I hope you’ll agree that paying extra to work with a more reputable company should yield better results.
