Connecting e-Commerce with Authorize.net Using iSolutions for Business Central
Photo from Unsplash
Originally Posted On: https://isolutionspayments.com/tutorials/connecting-e-commerce-with-authorize-net-for-microsoft-dynamics-365-business-central/
Making a connection between Authorize.net and Business Central is easy and seamless with the iSolutions App. Here’s how to do it:
Once you establish an account with iSolutions, you can link your Authorize.net account starting by opening up Microsoft Dynamics 365 Business Central and going to “Merchants” > open the Auth.net account and ensure the e-Commerce gateway dropdown is set to Authorize.Net.

From there, you can run a transaction in the Auth.net Virtual Terminal. It will give you a transaction ID. We are using the virtual terminal below just to give you an idea of the flow.


You will map the transaction ID the transaction produced, and put it into your sales document inside of Business Central, under the “Your Reference” field. Once you tab off, you will see the authorized amount pull into BC.

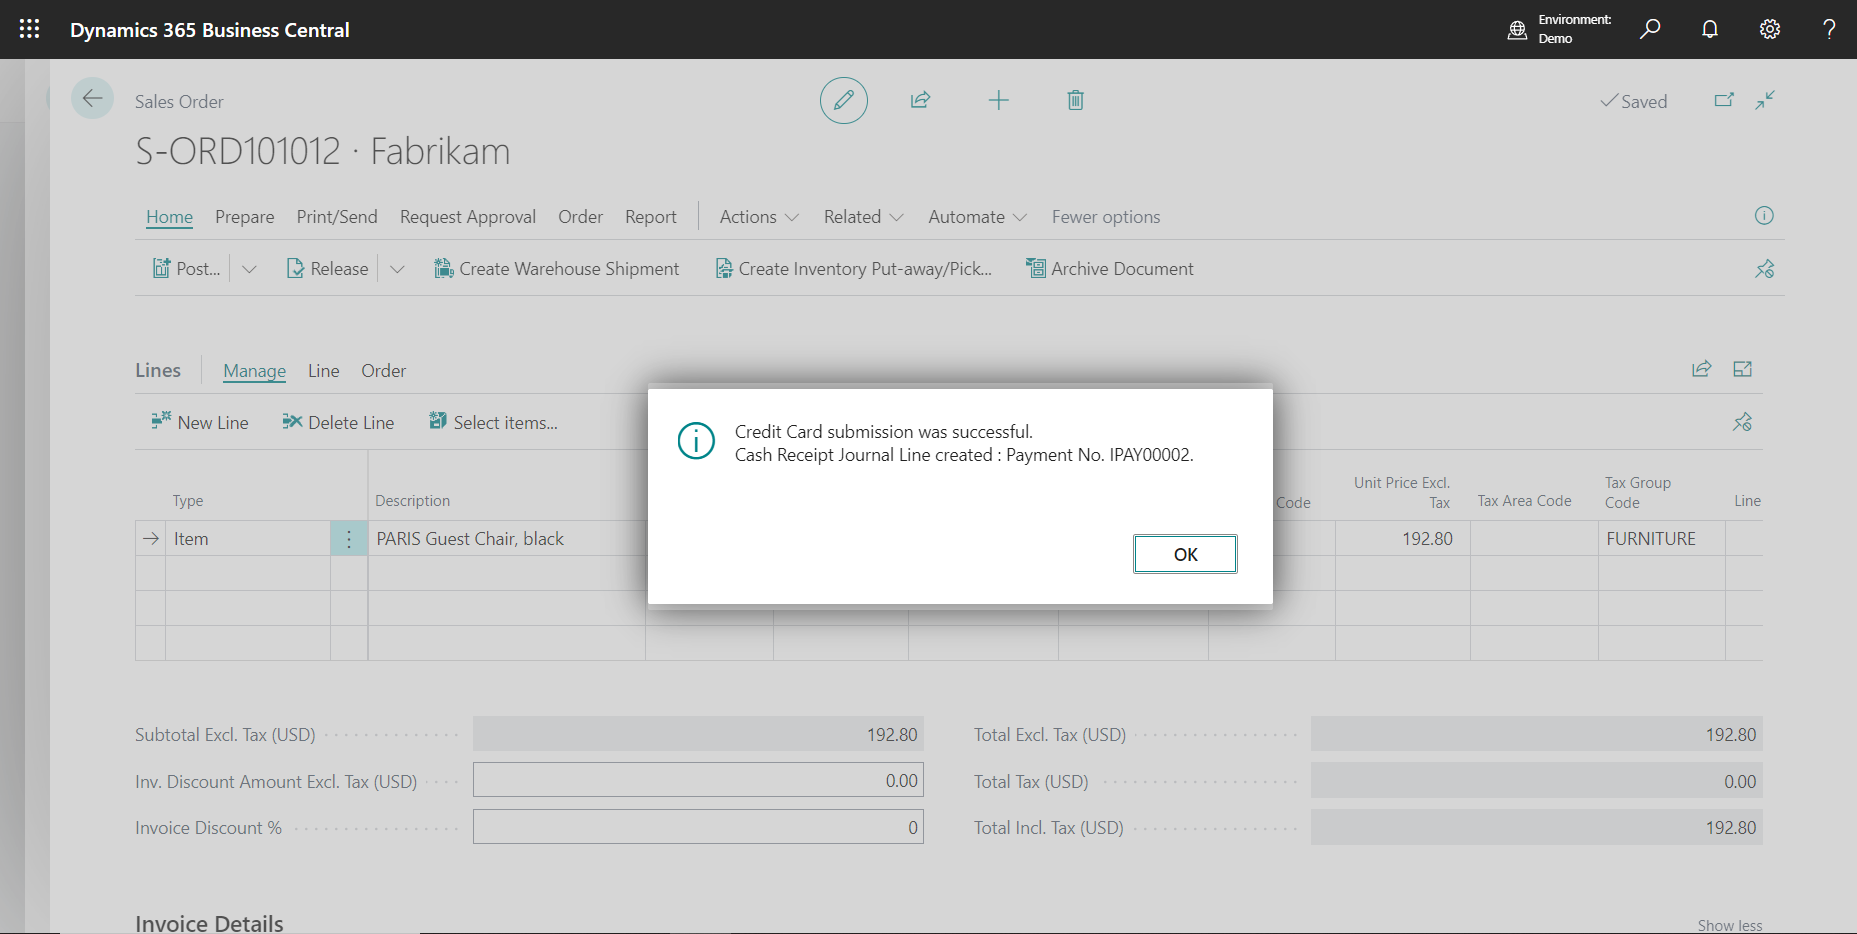
Once you post your invoice, the iSolutions app makes the cash receipt entry.

Upon post, the iSolutions app will settlement the payment, create cash receipt and apply to the posted invoice.

Want to learn more about our app? Contact us here
