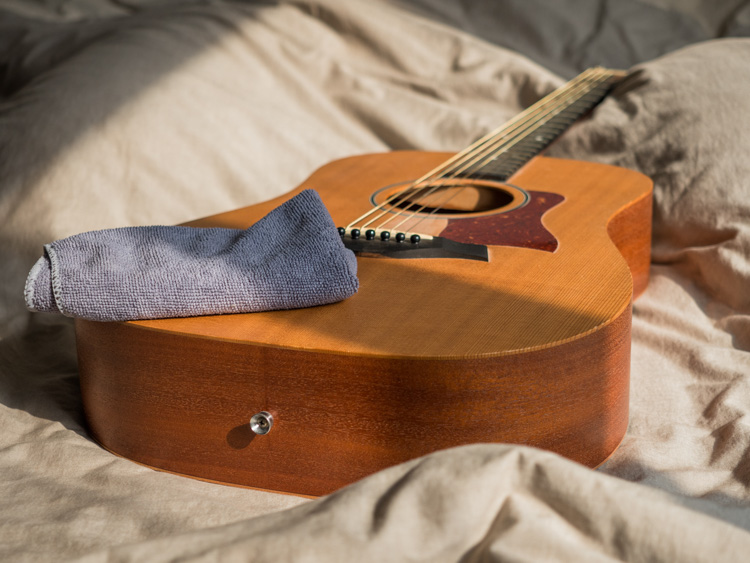
Caring For Your Guitar
Photo from calton-cases
Originally Posted On: Caring For Your Guitar | Calton Cases (calton-cases.com)
Guitar Care 101:
Keep Your Guitar Serviced and Your Sound Strong
Musicians, warriors for their craft, are only as proficient as the ax they wield.
So whether you’re strumming your Les Paul number One in front of Led Zeppelin or simply nursing your brother’s hand me down, caring for your guitar is an essential first step for music mastery.
Meanwhile, as many of us nowadays are stuck at home, there’s no better time than today to deepen your connection with your guitar.
For all of that, we at Calton Cases are invested in bringing you a comprehensive, step-by-step list to care for your guitar so it lasts through generations and lives as a testament to the legacy you wish it to tell.
Meanwhile, quality care for your guitar promotes an improved sound, a nicer finish and a longer lifespan overall.
So without further ado, lets rock:

Step 1:
Scrub Your Paws
The first thing that you can do to show your guitar (and your community) you care is to wash your hands! Your hands hold oil, dirt and all the particles of a busy day, which then breaks down and deteriorates your guitar overtime. While it’s easy to overlook, observing these details is how to maintain your guitar’s life in the long run. CDC and other reputable sources say to wash for 20 seconds, so whether it’s Covid-19 or just clammy palms, suds up and sing your self happy birthday from beginning to end before ever touching your guitar.
Step 2:
Clean Your Guitar, From Head to Strap Knob
Regardless of how often you use it, your guitar lives as much of a travel life as you do. For that, like it or not, your guitar gets dirty, grows old and has a propensity to moan from time to time.
Cleaning your guitar is as simple as running a damp cloth over it. But getting a good clean means removing your strings and paying attention to the details.
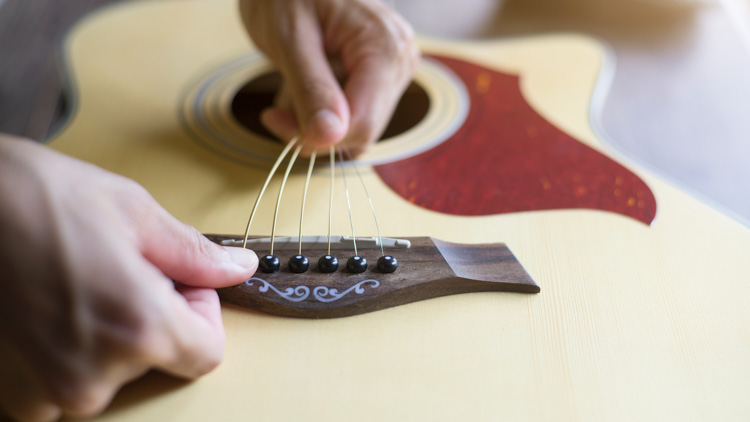
Begin by releasing the tension with your tuners at the top of the guitar using either your hands or a tuning tool. Once loosened, you should be able to release the strings from the top knobs and then pull them through the bridge at the bottom.
On most acoustic guitars, pegs will be what hold your strings into the bridge. To remove, simply pry them out carefully with pliers to give you clearance to remove the ball end of the strings from the body of the guitar.
On many electric guitars, strings actually run through the back of the guitar, and are removed by removing the backside cover plate or by pulling through the strings themselves through the visible opening if there is no backplate.
Once the strings are cleared, you should have a significantly more efficient and effective time cleaning our guitar.
Step 3:
Saving Your Neck
Once your strings are off, it’s time to clean and polish your guitar.
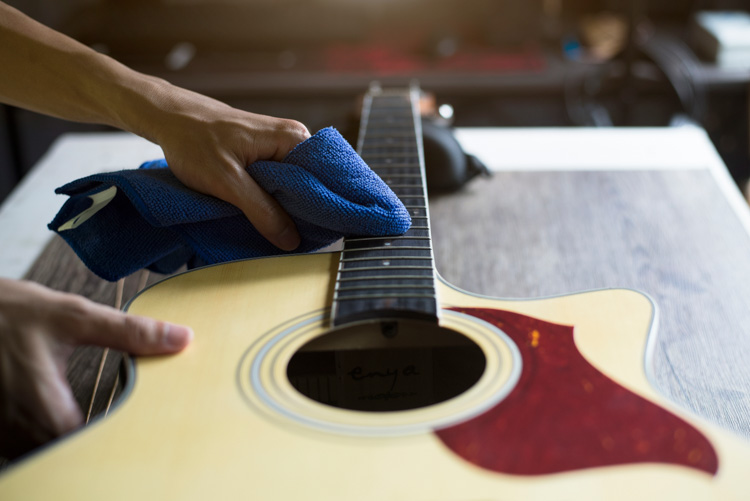
For all types of fretboards and guitar bodies, begin by wiping your entire guitar down with a dry cloth to remove any dirt.
This first pass is just a simple wipedown and should be handled delicately.
From there you can move to a more thorough cleaning of your guitar’s neck and fretboard.
You’ll want to tailor your cleaning to what your fretboard is made of. To that end, the most common types of woods are Maple, Rosewood, and Ebony. Depending on the build material, you’ll use two different types of cleaning methods and compounds.
For A Rosewood Or Ebony Fretboard:
This is a sturdier wood and will stand for a stronger cleaning so you’ll want to use 0000 steel wool to scrub away grime and deterioration.
Using your steel wool, start by rubbing the frets gently in a circular motion without scratching off the finish. Once finished, polish with a cloth and lemon oil. Then wipe with a clean micro cloth to dry and remove excess oil. This will rehydrate the neck for more durability and restore the finish to a like-new sheen.
For A Mapleneck:
Start by using a dry cloth to try and clean the board first. If there’s still build up, use a damp cloth with only water, and immediately dry afterwards with a microfiber towel. Maple necks are lighter in color, so it’s easier to see when they’re dirty. This is also what makes them more fragile, so it’s important to avoid cleaning compounds and chemicals and instead clean regularly with just cloth and water.
Step 4:
Nice Body
The body of your guitar is an essential aspect of guitar maintenance for performance and aesthetic purposes.
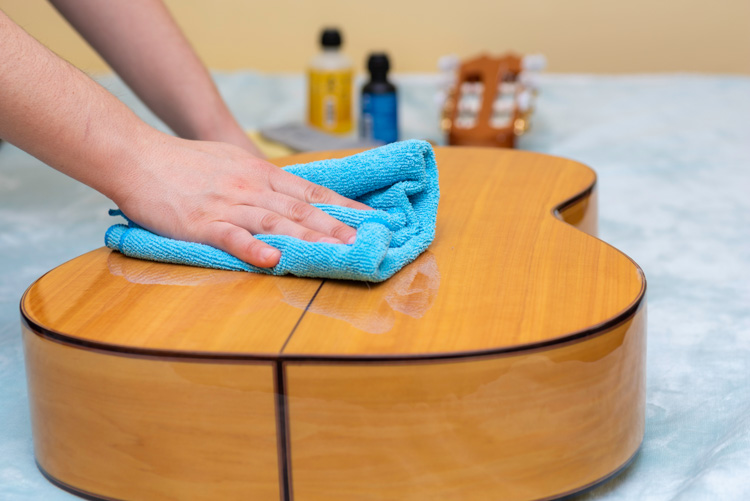
Beyond simple wiping, polishing your guitar is the most effective method of regular upkeep you can do for your sidekick in shredding.
Along the way, make sure to clear electronics by blowing dust from the pickups and working the nobs. When dust builds up over time, it affects the action and can even potentially scratch the finish when left unattended.
It’s important to keep in mind there are different types of guitar polish for acoustic and electric guitars. It’ll be clearly labeled when you purchase but above all else, do not polish a guitar that does not have a full gloss finish.
Start by applying polish directly to the cloth and not the guitar itself.
From there, simply rub the body of the guitar in circular motions until you cover the whole surface, then wipe away what you’ve done with a dry cloth.
Step 5:
Stringing You Out
Now it’s time to restring your guitar.
Begin at the base of your guitar. If it’s an acoustic guitar, run your strings back into the bridge and replace the pegs filmly.
If it’s an electric guitar, they’ll lock firmly through the hole on the back body of the guitar via the ball at the end of the string.
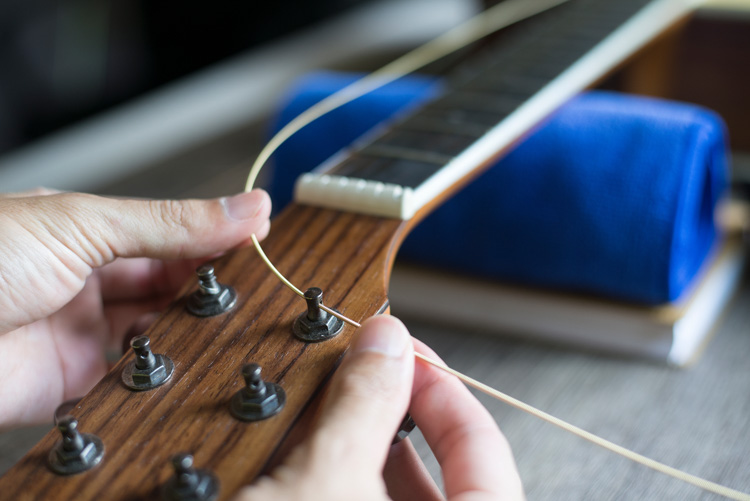
Bring the plain end through and up the neck until you’ve got it through back through the hole in the tuner.
It’s important to leave a little slack once it’s through the tuner, since you’re going to have to wind it and build some tension.
Before you start to tighten the string, have a finger in front of the hole of your tuning posts so your string stays in place on the fretboard. Then slowly tighten the string. You want the string to wrap in a downward spiral around the tuning post. If the string is going up as you tighten, you’re tightening in the wrong direction.
For tuning, start at the pickups of the guitar and pull the string slightly towards yourself with your fingers, while pushing with your thumb in the other direction. Essentially you want to lightly tug and push the string at the same time, and go up the neck to stretch it. As you tune, stretch the string one or two more times depending on how stiff your strings are. They will stop stretching and stay in place when they’re ready.
Step 6:
Lock It Up
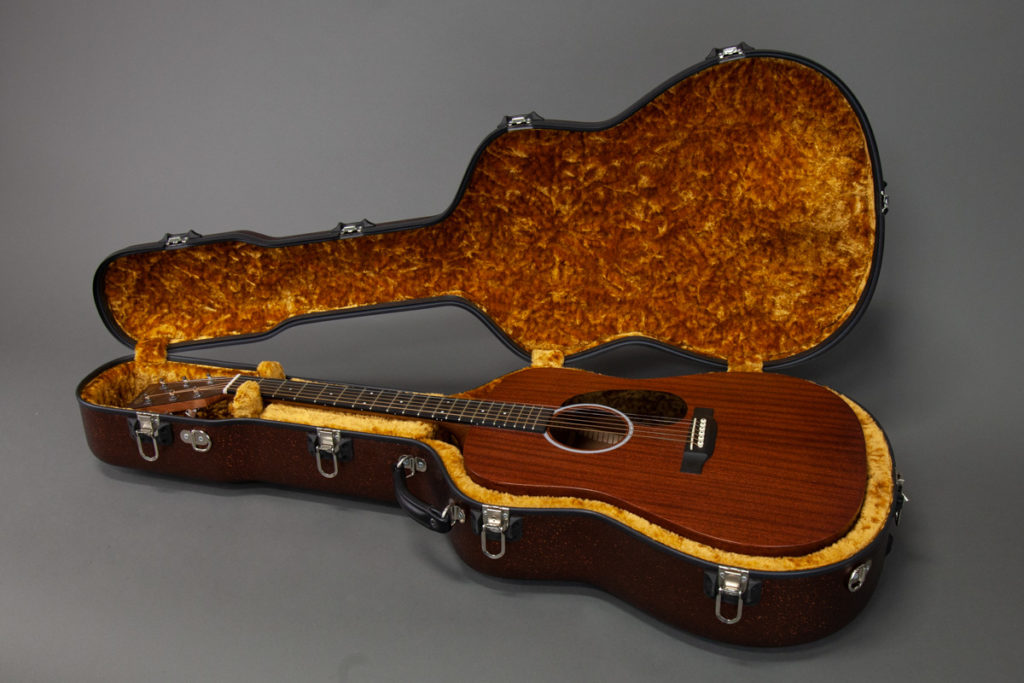
Even if you’re not traveling, a hard case and a climate stable environment are the best means to keep your guitar young and youthful for years to come. Things happen- it gets knocked over, a friend, relative, child, or cat jostle it, and you end up sorry you didn’t have it protected. Your guitar is your legacy but for it to be so it needs to outlast you.
One of the most important things you can do to care for your instrument is to store it in the case when it is not being played. It is also strongly advised to monitor and control humidity within the case with a humidifier or hygrometer. Prolonged changes in humidity and temperature could lead to damage for most instruments & in some cases, render them unplayable.
Meanwhile, for your acoustic guitar, the wood it’s made of is vulnerable to atmospheric humidity and temperature. Consider a humidifier for long term storage to keep your guitar from drying out over time.Too much humidity or too dry a climate can cause problems. Signs to look for are;
- Swelling or dipping of the top or back
- Elevated action
- Lower action which can cause string buzzing
- Cracks in the finish
- Bridge lifting
- Binding beginning to seperate or fret lifting, causing the frets to stick out from the fretboard
All of these are signs your guitar needs more attention and, to save yourself an expensive trip to a repair shop, can be resolved with little more than attention to temperature and humidity.
Our Calton hard shell guitar cases will hold interior humidity for at least 72 hours (with an impressive 4% per day gradual change to the case interior atmosphere) even when external humidity rises or falls by 40%. They also prevent overheating from your instrument even in environments like a hot van, truck or trunk of your car by insulating your instrument from rapid changes in temperature. Our cases are thoroughly tested and are designed to regulate gradual changes in temperature, allowing for 90 minutes to reach the temperature outside of the case.

Step 7:
Keep On Rockin’
Being a guitarist is about more than playing music on a guitar. It’s about understanding your gear’s life and the life of your career are intertwined. For that, we say that the most important thing of all is to address your guitar’s problems the day you notice them. Be in tune with your instrument and ask questions wherever you can.
Got any in mind? Feel free to write to us in the comments section here and we’ll gladly address them.
For all you hard working musicians, keep on rocking and we’ll keep you safe along the way at Calton Cases, Where the hardest working instruments live.
